
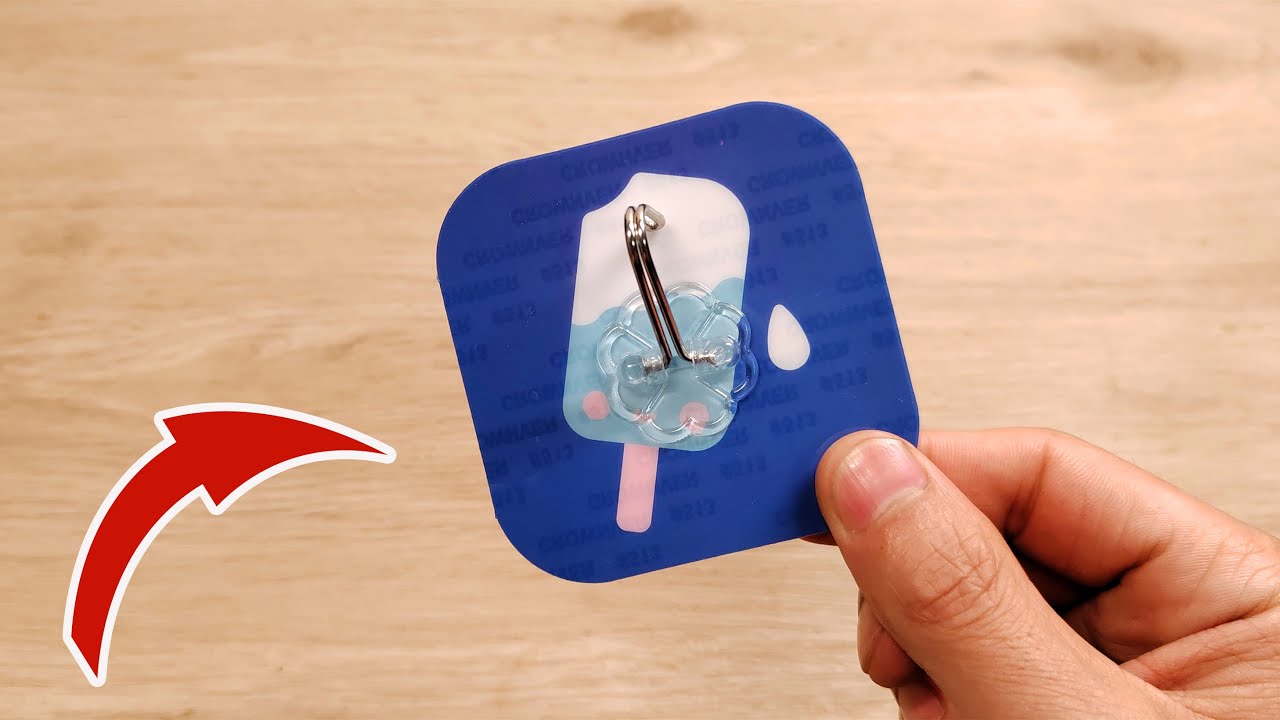
Welcome back to heissetipps, the place where we uncover the secret powers hidden within the most ordinary household objects! Today, we’re peeling back the curtain on a tiny, yet mighty, champion of home organization: the adhesive sticky hook. For most of us, these little plastic marvels are relegated to the most basic of tasks. We use them to hang a set of keys by the door, a dish towel in the kitchen, or perhaps a lightweight picture frame. They are useful, yes, but we rarely see them as revolutionary. We treat them as a simple convenience, a temporary solution until we’re ready to commit to a real nail or screw. But what if we told you that this humble hook is one of the most versatile, brilliant, and underutilized tools in your organizational arsenal? What if its true potential lies far beyond the obvious, waiting to solve some of your most persistent and frustrating household problems? Get ready to see this simple adhesive square in a completely new light. We’re about to unveil five hidden, “genius” uses for sticky hooks that are so practical and effective, you’ll wonder how you ever managed without them. These are the “hot tips” that will bring order, space, and a touch of magic to your home, all without a single tool.
1. The Pot Lid Storage Revolution
Let’s start in the kitchen, specifically inside that one dreaded cabinet. You know the one. It’s the chaotic, clattering mess of pots and pans, where finding the right lid feels like a noisy, frustrating game of archaeological excavation. The lids slide around, get wedged between pots, and take up an absurd amount of valuable shelf space. Stacking them is a precarious balancing act, and the inevitable crash when you pull one out from the bottom is enough to wake the entire household. You could buy expensive, custom-built lid organizers, or you could solve the entire problem for a few dollars with a pack of medium-sized sticky hooks. The solution is to get the lids out of the pile and onto a completely unused surface: the inside of your cabinet door.
Here’s how you create this elegant storage system. First, take your pot lids and arrange them on the inside of the cabinet door to see how they fit best. The goal is to use two sticky hooks to create a custom “cradle” for each lid. The hooks will hold the lid by its edges, while the lid’s own handle will prevent it from tipping forward. Place a lid against the door and use a pencil to mark where the two hooks should go on either side of it. For best results, position the hooks so they are slightly below the centerline of the lid. Now, follow the package instructions carefully—clean the surface with rubbing alcohol to ensure a strong bond, then press the hooks firmly in place. It’s crucial to let the adhesive cure for the recommended time (usually an hour) before putting any weight on them. Once cured, you can simply nestle your lids into their new homes. The transformation is immediate and astounding. Your lids are now perfectly organized, individually accessible, and completely silent. You’ve reclaimed a huge amount of shelf space and brought a sense of calm and order to your noisiest cabinet, all thanks to a few cleverly placed hooks.
2. The End of the Slipping Trash Bag
It’s a universal moment of frustration. You throw something away, and with a sad, soft whoosh, the entire trash bag collapses in on itself, slipping down into the can and taking your garbage with it. Now you have a messy, unpleasant task on your hands: fishing out the slimy top of the bag to pull it back up over the rim. This happens because as the bag gets heavier, the weight pulls it down, and a smooth plastic can offers no friction to hold it in place. You might try to tie a knot in the bag, but it’s often ineffective. The truly genius, foolproof solution requires just two sticky hooks. This tiny change will permanently anchor your trash bag, no matter how much you throw in it.
The technique is brilliantly simple. Take two sticky hooks—small or medium ones are fine—and place them on the exterior sides of your trash can, near the top rim and opposite each other. Clean the area first for a good stick. Now, when you put a new drawstring bag into the can, simply loop the drawstring cord on each side over its corresponding hook. That’s it. This simple action creates tension across the top of the bag, holding it firmly open and securely in place. It physically cannot slip down into the can. Not only does this solve the slipping problem, but it also makes taking out the trash easier. When the bag is full, you just unhook the loops, pull the drawstrings tight, and lift it out. For an extra touch of heissetipps brilliance, add a third hook, placed upside down, somewhere on the outside of your can. You can use this to hang your roll of spare trash bags, so a new one is always within arm’s reach.
3. The Untangled Tech Haven: Ultimate Cable Management
In our modern, device-driven world, we are constantly battling a tangled enemy: cable spaghetti. That unsightly mess of wires behind your desk, television, or nightstand is not just ugly; it’s a dust magnet, a tripping hazard, and it makes unplugging a single device a frustrating puzzle. You can buy expensive cable channels or wraps, but a far more versatile, affordable, and non-permanent solution is a handful of small, clear sticky hooks. They are the perfect tools to tame the technological beast and create clean, organized pathways for all your cords.
Start by mapping out a path. Underneath your desk, you can place a series of hooks to guide your power cords from your computer to the power strip, keeping them flush against the underside of the desk and completely out of sight. You can even mount the power strip itself off the floor by using two or three heavy-duty hooks, which makes cleaning and vacuuming a breeze. Behind your entertainment center, use hooks to separate your audio, video, and power cables, running them neatly along the back of the furniture. One of the best uses is on the side of your nightstand. Stick a small hook there to hold the end of your phone’s charging cable when you’re not using it. No more fumbling on the floor for the cord in the dark. Because the hooks are adhesive, this solution is perfect for renters or for anyone who likes to rearrange their furniture, as it leaves no damage behind.
4. The Hands-Free Kitchen Assistant: A Tablet and Phone Mount
Cooking in the 21st century often involves a screen. We follow recipes from websites, watch cooking tutorials on YouTube, or simply enjoy a show while we prep ingredients. But this introduces a kitchen dilemma: where do you safely put your expensive tablet or smartphone? Laying it flat on the counter exposes it to spills and splatters and takes up valuable workspace. Leaning it against a canister is a precarious balancing act, one stray nudge away from a cracked screen. The genius solution is to create your own custom, damage-free wall mount using a couple of sturdy sticky hooks.
Find a convenient spot on your kitchen backsplash, a cabinet side, or a wall that’s at a comfortable eye level but away from the direct heat of the stove and the splash zone of the sink. Take your device and hold it up to the wall in the landscape (horizontal) position. Use a pencil to mark where the bottom corners of the device sit. Now, take two strong, large sticky hooks and mount them at those marks, with the hook part facing up. Again, make sure to clean the surface and let the adhesive cure properly. You’ve just created a perfect, secure cradle for your device. It’s now held safely off the counter, easy to view, and out of harm’s way. For an extra pro tip, you can add a smaller hook just above the mount to loop the charging cable through, keeping it tidy and preventing it from dangling in your workspace. This trick transforms a small patch of vertical space into a highly functional media station.
5. The Instant, Damage-Free Curtain Rod
This final tip is perhaps the most surprising and transformative of all, elevating the sticky hook from an organizer to a genuine decorating tool. Imagine you need to hang a lightweight curtain. Maybe you’re a renter and drilling holes is strictly forbidden. Perhaps you want to create a sink skirt to hide under-sink plumbing, or hang a simple café curtain for privacy without committing to a permanent fixture. A tension rod isn’t always the right size or look. The answer is two heavy-duty sticky hooks and a lightweight dowel or curtain rod. This allows you to hang a curtain virtually anywhere, with zero damage.
The key to this hack is to use the strongest adhesive hooks you can find, such as the Command Large or Utility hooks, which are rated to hold several pounds each. The second key is proper placement. Instead of placing them with the hook curving down, you will place them so the hook part faces directly upwards. Measure and mark where you want the ends of your “curtain rod” to be. Clean the surface and apply the hooks firmly. Now, this is the most critical step: you must wait the full recommended curing time, or even a bit longer, before placing any weight on them. Once cured, you can simply rest a lightweight curtain rod, a thin metal pipe, or a wooden dowel directly into the U-shape of the hooks. This method is perfect for sheer curtains, lightweight fabric panels to hide a messy alcove, or even for creating a canopy over a child’s bed. It’s a decorator’s secret weapon that provides a stunning amount of flexibility and creative freedom, proving that the mightiest solutions often come in the smallest packages.
From taming chaotic cabinets to creating damage-free decorating solutions, the humble sticky hook is a true giant of home organization. By looking beyond its intended purpose and applying a little creativity, you can solve dozens of everyday annoyances. So next time you see that pack of hooks in the store, we hope you’ll see them not just as a way to hang a towel, but as a key to unlocking a more orderly, efficient, and clever home. For more genius solutions that will change your life, keep visiting us at heissetippsthumb_upthumb_down